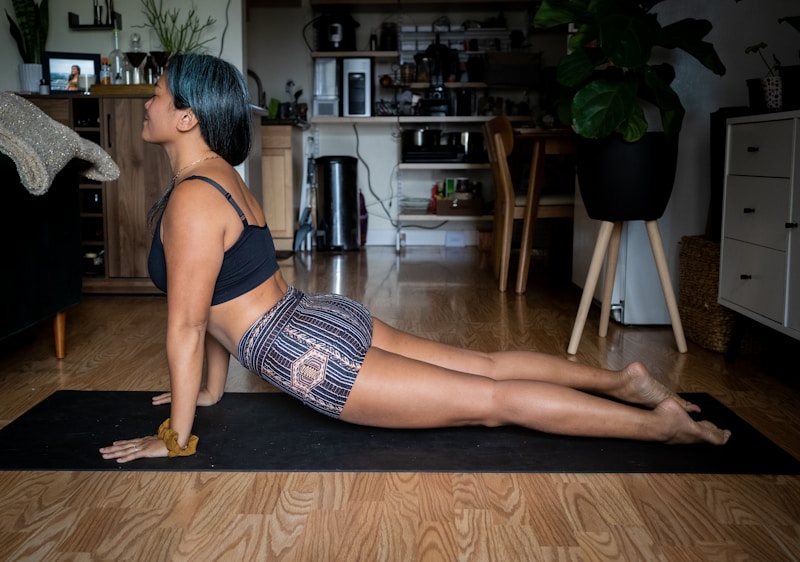
Back bends are commonly what yoga is known for. Thanks to the uprising of social media, there are even more photos of these gorgeous back bends with breathtaking backgrounds. Who can blame these yogis for taking pictures of them; they are energizing, uplifting, and heart opening.
Unfortunately, many people get injured for not practicing back bends safely. I’ll be walking you through key points to help protect your back during your practice. If you’re a teacher, you can safely guide your students in and out of back bends with certain cues and counterposes.
For anyone practicing back bends, your mantra should be, “Lengthen, lengthen, lengthen!” A long spine is a happy spine.
Warming Up
In any back bend it is extremely important to warm up the back with different poses. We mainly want to focus on elongating the spine to create space between the vertebrae. Here is a quick sample routine to help warm up the spine:
- Cat Pose (Mārjāryāsana)
- Cow Pose (Bitilāsana)
- Comfortable Seat with Twist (Sukhāsana with Twist)
- Sage Pose (Marīcyāsana C)
- Bridge Pose (Setu Bandha Sarvangāsana)
Please note that plenty of gentle twists are better for the spine than a big twist with a bind. If you’re not used to them, they can be a bit much for the body.
1) Don’t Forget Mula Bandha!
An extremely common mistake in back bend practices is pinching the lower back. This happens due to not engaging your mula bandha and core. Even though the front body is being elongated and stretched, that doesn’t mean it can be relaxed and do whatever it wants. It must be active and engaged. This will help ensure that when you really go for that deep back bend your lower back will be protected.
2) Tuck Tailbone, Engage Glutes
What happens in the front must also happen in the back. Just because your front is engaging and elongating doesn’t mean your back gets to compress and shorten. Lengthen, lengthen, lengthen! The tendency is to drop back into a wheel pose and hope for the best, especially those who are super bendy. To avoid compression in the spine, especially the low back, we want to “tuck” the tailbone to not get an extended anterior pelvic tilt.
A hot topic amongst yogis is engaging the glutes in a back bend. When squeezing the gluteals, they activate the piriformis which actually causes external rotation of the hips. This causes the knees start to stray outwards and puts more pressure on the low back. What needs to be done is a slight activation of the glutes and grounding down the big toes to activate the inner thighs to counter external rotation. Sounds like a lot of confusing work I know — so you can forget everything I said and just try this:
Grab a block, place it between your thighs and squeeze while you are in your back bend. This will automatically engage the glutes and inner thighs, relieving your low back!
How to cue: “Lengthen tailbone towards your heels”
3) Counterposes Are Your Friends
Finally, the most important part of a back bend practice is the counterposes. These poses can range from a gentle forward fold to twists. Focus on gentle poses to bring your spine back to neutral. If you are doing a forward fold (standing or seated), be sure to keep length in your spine, and the mula bandha engaged and don’t go super deep into the pose. For bigger back bends like Bow Pose and Upward-Facing Bow Pose, slowly exit these poses by gently lowering yourself down to the ground so your spine is flat. Rest for a few breaths here then move into Child’s Pose or hug your knees to your chest. Breathe into these poses to gently lengthen your spine again.
See Also: Everything About Mūla Bandha You Were Too Shy To Ask
4) Wrapping Up
Be mindful when teaching or practising back bends. Watch your students careful and help guide them through the practice. Keep these four points in mind, and if something doesn’t feel right, please come out of the pose safely. Trust me, recovering from a back injury is never fun.
Were there any points, poses, or cues that you like when teaching? Please comment below, I’d love to hear what you like to use.


