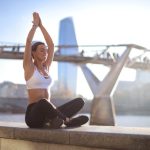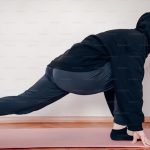
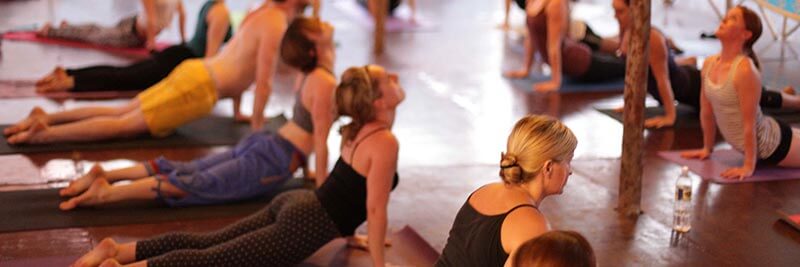
Upward facing dog, or variations of it, are performed countless times by students during their yoga journey. As an iconic pose, novice students will strive to achieve upward facing dog but many will fail; repeatedly risking injury from their poor technique. Knowing how to teach this pose well is essential for every yoga teacher and here is how you do it!
THE INS AND OUTS OF UPWARD FACING DOG
Up dog, or urdhva (upward) mukha (facing) svanasana (dog pose), can be practiced as a stand alone pose or in a flow like sun salutes or vinyasa. The full expression of the pose requires upper body strength, open shoulders and chest, a good range of extension in the lumbar spine and hips combined with a strong core and legs. Though my labrador makes it look easy, for us humans up dog is a real challenge.
Up dog can be entered from chaturanga dandasana or lying on the belly. Working with the breath, inhalation accompanies arm extension into the pose. And from here things start to get complicated. There are lots of teaching points to remember:
- Hands — Flat, spread and thoroughly grounded through fingers in particular. Placed at waist level, wrist joint creases parallel with front edge of mat. Drawing back towards the pelvis to bring the chest forward between the arms.
- Elbows — Slightly bent and drawn in towards the torso.
- Shoulders — Upper arms externally rotated so that elbow creases point forwards.
- Chest — Open, broad and projecting forwards of the upper arms with sternum lifting.
- Shoulder blades — Drawn down away from the ears to create space around the neck. Rhomboids squeezing to stabilise scapulae.
- Upper limb alignment — Front of wrist joint, elbow and shoulder stacked directly one above the other.
- Spine — Cervical spine maintaining natural lordosis, i.e. looking straight ahead; thoracic spine extending back from it’s kyphosis and lumbar spine in extension. Lengthening throughout with nice smooth curves and no hinges.
- Pelvis — Lifted away from floor. Tailbone tucking towards the pubis, the pubis drawing up towards the navel and the lower belly muscles drawing the front of the hip bones together.
- Legs — Hips width apart, internally rotated with extended knees lifted away from floor. Glutes activation prevents compression in the lumbar spine.
- Feet — Pointed with tops of feet pushing into floor.
PREPARATION IS KEY
As I said, there is a lot to think about and most beginners and novice students will lack one or more of the components resulting in a struggle to achieve good form. Encouraging them to work on elements of the pose in safer, less challenging asana will reap rewards as they strengthen and gain the joint movements needed for a full up dog. Here are a few of my favourites
- Baby Cobra — This is lovely for students with stiff spines or back pain. The hands are placed under the shoulders rather than by the waist but the actions of the arms, shoulder girdle and spine are mini versions of those in up dog and start to build strength beautifully.
- Sphinx — Also great for developing shoulder strength and encouraging thoracic extension. Also really nice for students with wrist or hand pain that can’t achieve up dog comfortably.
- Cobra — Very similar to up dog but with hands under shoulders and pelvis remaining on the floor. Can be used in sun salutes and vinyasa for students not yet ready for up dog.
SPINAL HEALTH, SHOULDER STRETCH AND HIP OPENER
Upward facing dog is wonderful chest opener and back bend with the added benefits of a hip stretch. It builds upper body strength and uses extension of the spine to counter the 21 century tendency to spend life in flexed positions.
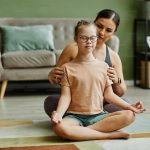
Used as part of a gentle rhythmic flow between flexion and extension of the spine, it helps to compress the posterior elements of the spine including the intervertebral discs. This assists in nourishing the discs to maintain disc health as well as going some way towards ameliorating the effects of any degeneration already present. I use this a lot with my back pain patients and they love it!
A WORD OF CAUTION
Done well, urdhva mukha svanasana is a wonderful pose but it is not without it’s dangers. Problem wrists, painful backs and shoulders will not necessarily like the pose. Always be guided by pain and modify the pose to take an alternative if students are reporting pain. Never push through pain.
Cueing lengthening through the tailbone and crown of the head and ensuring there is a reasonable amount of activity in gluteus maximus helps to prevent a big hinge forming across the lumbar spine at about waist level. Though a hinge here may not be painful initially, it will be if a student keeps doing it. It has the potential to cause significant injury to the back and must be avoided at all costs.
Encouraging activation of mula and uddiyana bandhas seems counterintuitive in back bends but it does a great job of supporting the spine in a smooth curve and avoiding hinges.
There is also a risk of neck injury if students compress their neck with high riding shoulders. Cueing the shoulder blades down the back and a squeeze between them as the same time as lengthening through the crown works wonders. Drawing hands back to project the chest forwards also makes a huge difference here.
Looking ahead in the pose rather than lifting the chin prevents another hinge forming in the cervical spine.
FINAL WORD
You may have guessed that I love the series of poses that build up to urdhva mukha svanasana. I use them in my classes, in my own practice and with patients. I thoroughly recommend them to you – they really are worth the effort to get right. Maybe it is time for an animal themed class full of sphinxes, cobras and dogs… just a thought.