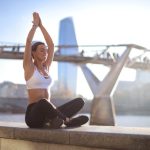
The gravity-defying arm balances of an advanced yogi are truly magical )and the envy of many less experienced yogi’s). There is no getting around the fact that the flexibility and strength needed to perform pincha mayurāsana (feathered peacock) or tittibhāsana (firefly) are way beyond most of us. But that does not mean that arm balances are off the yoga menu. There is a wonderful selection of accessible arm balances that strengthen the arms and shoulders and are truly perfect as stepping stones on any yogi’s arm balance journey. Here are a few of my absolute favourites.
1. DOWN DOG (ADHO MUKHA ŚVĀNĀSANA)
Yes, down dog really IS an arm balance. Focus on pressing through the whole length of flat fingers and thumbs while gently drawing the base of the thumb and little finger together. This pushes the weight back into the legs but, more importantly for arm balance preparation, lifts the palm and wrist a little. Squeeze the shoulder blades together and towards the waist to engage the muscles of the shoulder girdle into a strong supporting framework. Put together, this all strengthens the hands, wrists, arms and shoulders. Once the arms are strong enough – consider lifting one leg at a time into 3 legged dog, maybe holding it there for a few breaths to build endurance.
2. DOLPHIN (ARDHA PINCHA MAYURĀSANA)
This is basically down dog on your forearms. Everything from the shoulders to the feet is exactly the same as down dog above. In dolphin, the elbows are bent with the forearms parallel and hands pointing away from the feet. Firmly plant the hands on the mat, palms down. Ground down by pressing through the whole length of the forearms and hands – keep the head in line with the rest of the spine. Walking the feet towards the forearms lifts the pelvis higher and starts to work on flexibility. Once the hips reach that sweet spot stacked over the arms you can start to prepare for lifting into a full pincha mayurāsana maybe lifting one leg at a time as above.
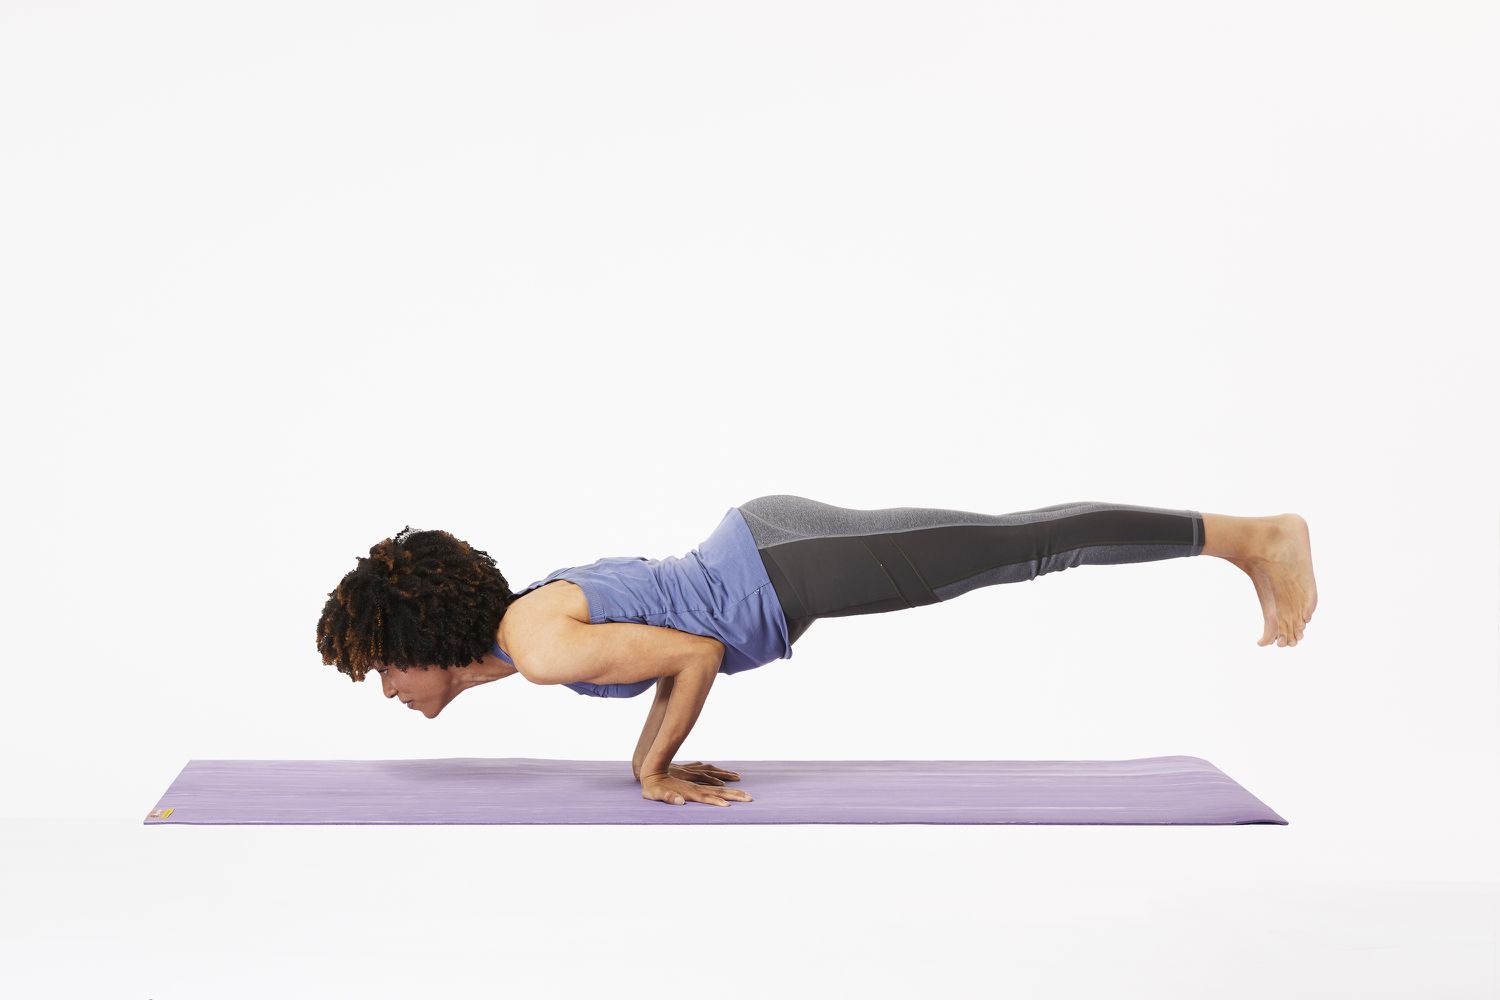
3. PLANK
The high and low plank strengthens arms and shoulders AND building core strength – all essential for successful advanced arm balances. A great plank has the shoulders, hips, and knees in a straight line with the body working as hard as the arms. To achieve this – gently squeeze the buttocks (as if you are trying to crack a walnut between them) and draw the lower ribs towards the pelvis using the abdominal muscles. Master the half, low plank first (forearms and knees down) then move on to a full low plank with knees lifted. Aim to hold the pose for a few deep breaths focussing on keeping that lovely straight line from shoulders to knees (or heels if knees are lifted). Moving on to a high plank with elbows almost straight (micro bend) will come with time as strength and control improve.
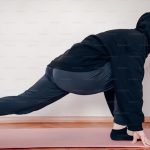
4. SIDE PLANK
This pose is wonderful to prepare for balances like wild thing (camatkarāsana). A great version to start with is a sort of low, half side plank – start lying on your side propped up on your elbow. Make sure your shoulder is stacked over the supporting elbow and your hand is flat on the mat pointing forwards. Imagine the back of your head, shoulder blades, hips and feet are resting on wall behind you then bend your knees so that the feet are flat on the imaginary wall. Keeping the knees together, press through the whole length of your forearm and both shins to lift the hips up, up, up. Aim for those hips to reach a point just above a line from your knees and shoulders for a really energised plank. With those hips high, work to keep the chest rotating up towards the ceiling just a little – think nipple to sky! Inhaling to lift and exhaling to lower the pelvis for 5 deep breaths prepares beautifully for holding the pose in the future. As for plank above, gradually work towards the knees lifted version on forearms before progressing to straight arms.
5. MODIFIED WILD THING (CAMATKARĀSANA)
The full expression of wild thing requires strength, balance and good dose of courage that may take years of patient practice to achieve. This modified version is perfect preparation for the full pose and lots of fun! Start sitting with the legs in the same position as janu sirsāsana (head to knee pose) with one knee bent and that foot placed flat against the opposite thigh. Lets say the right leg is bent and the left straight – on this side the right hand is placed on the mat behind the right buttock to prepare. Press through the right hand, right knee and shin and the left foot to lift the pelvis skywards as you reach the left hand overhead and arch your back. You can choose whether you want to twist the chest up towards the ceiling or keep it pointing towards the wall in front – whichever feels best for you. If you are feeling frivolous – a good hearty ‘yee hah!’ as you lift up brings a smile to most faces. In a sequence, modified wild thing works really well as a counterpose to janu sirsāsana if you are planning classes or home practice.
All of these poses will gradually build the upper body and core strength to prepare for more challenging poses – if that is where your yoga journey takes you. More importantly, they are a lot of fun and offer challenges and achievements in their own right. So, forget the fireflies, scorpions, and peacocks. Trust me – down dogs, dolphins and wild things are SO the way forwards! Happy arm balancing!